Today I am sharing a very easy card featuring Stampin Up! Rooted In Nature stamp set and some ink blending with a makeup brush. The colours I used are Pineapple Punch, Granny Apple Green and Smoky Slate. I also used Memento Tuxedo Black Ink for the tree and then clear embossed over the top of the tree. All products featured can be purchased through my ONLINE STORE AUSTRALIA
Today I am sharing my latest card creation which is (in my opinion) super cute!! I used Stampin Up! All Wired Up background stamp and the oldie but goodie, This Little Piggy stamp set. I also used the Stitched Shaped Dies. I used my Faber Castell Albrecht Durer Watercolour Pencils to colour the flying pig image and I used my make up brushes to colour the circle in Balmy Blue. All products minus the pencils and make up brushes can be purchased through my ONLINE STORE AUSTRALIA
TIP: I embossed the All Wired Up image in gold and it gave the chicken wire image a more classy and elegant look. This in turn can be paired with any image not just farm or critter based ones.
Today I am sharing a very simple yet elegant cherry blossom card. I used the beautiful Season Layers Thinlit dies and Abstract Impressions stamp set for the 'thank you'. For the stripes I used my Simply Scored Scoring Tool. I also used the Rectangle Stitched Framelit Dies. I love the effect of self coloured cardstock as it looks more organic, and it really looks beautiful. All items can be purchased through my ONLINE STORE AUSTRALIA
Today I am taking part in Kylie's Demonstrator Training October blog hop. Today's card is very simple. I ink blended the background in Petal Pink and So Saffron. I die-cut the dragonfly from the Detailed Dragonfly Thinlit Dies, and the "thanks" sentiment is from the Jar of Love stamp set and inked in Gray Granite. All these products can be purchased through my ONLINE STORE AUSTRALIA 24/7
I hope you all enjoyed this tutorial. If you have any questions please don't hesitate to contact me through my ONLINE STORE
Thanks for coming past and I hope to see you again soon! Please check out everyone participating in this blog hop. We have some very talented ladies :-)
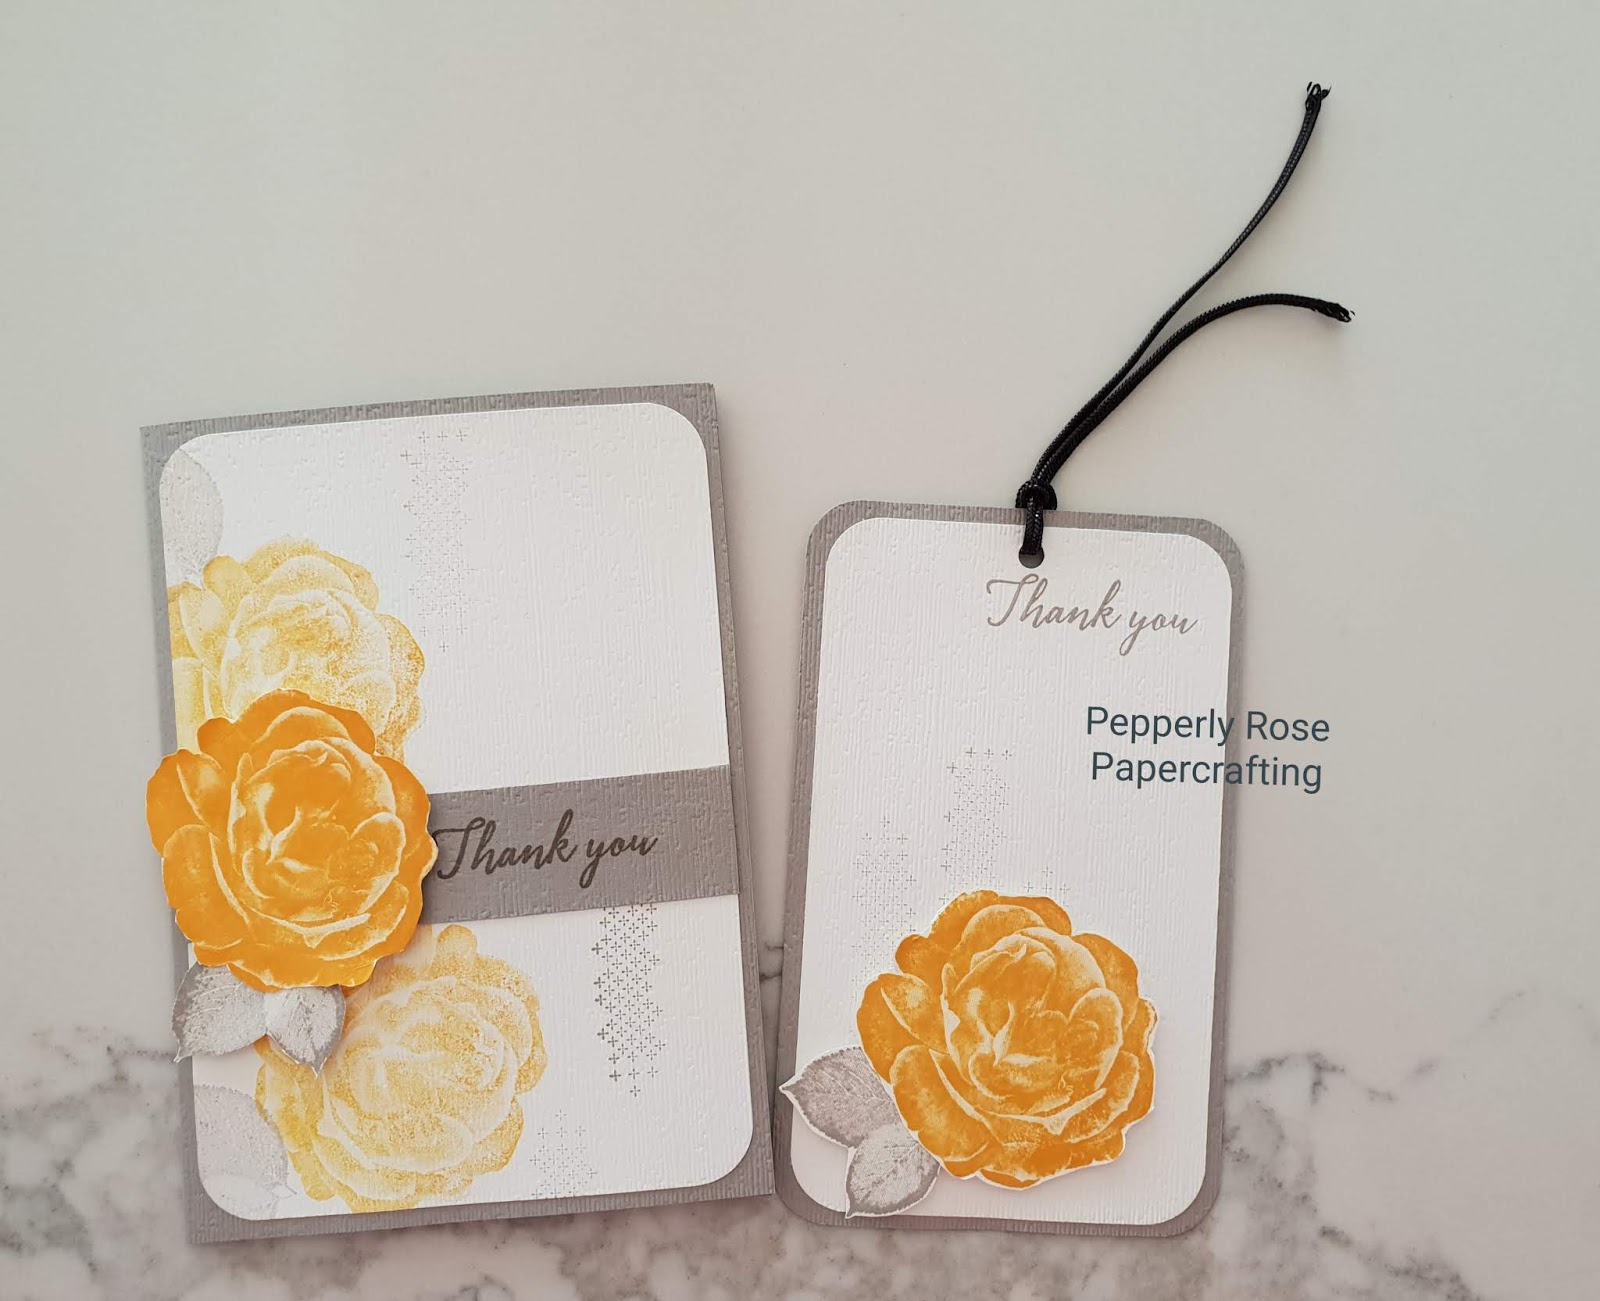
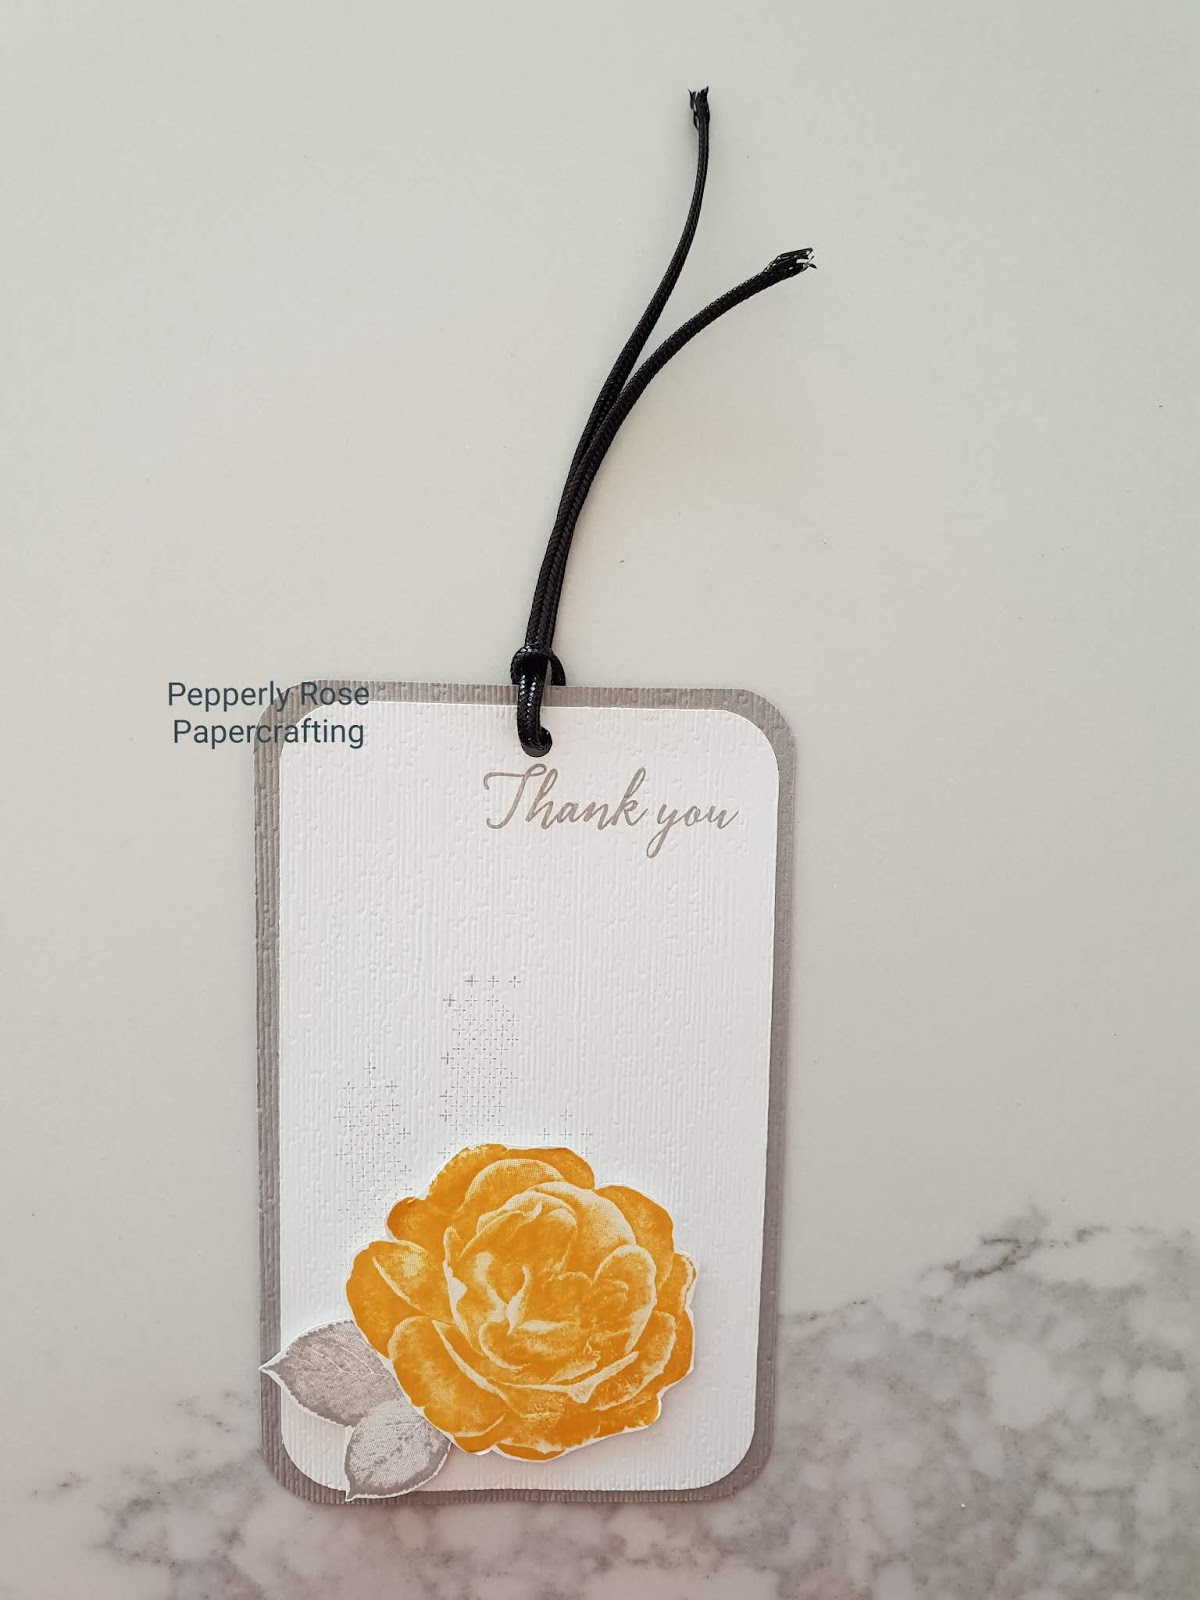
I am sharing my latest video tutorials showing you how to make a card and matching tag using Stampin Up! Healing Hugs & Tropical Chic stamp sets, Subtle Dynamic Impressions Embossing Folder, and Detailed Trio Punch. These can be purchased through my my online store at http://www.stampinup.net/esuite/home/pepperlyrose/ The colours I used are Grey Granite, Crushed Curry and Mango Melody.
Over the past weekend I participated in a crafty challenge where one of the criteria was to use a product or stamp set that we haven't used since we bought it. Pretty Kitty is one of those sets that I bought over a year ago and then never used it. It is such a shame and so wasteful, so when this challenge came up, I jumped at the chance to use it. The Basket Weave Dynamic Textured Embossing Folder is also a product that I have never used! I am so glad I pulled them out and used them. I used my surprise favourite colour Pineapple Punch for the card base. I am not a bright yellow kind of gal, but this looks gorgeous and I cannot stop using it! I also used my favourite Stitched Shaped Framelits and Layering Circle Framelit Dies. I think that they all worked very well together. You can purchase any of the products featured in today's tutorial at ONLINE STORE AUSTRALIA 24/7
Lately, I have been challenging myself to colour more, as it was something I was avoiding to do. I found colouring intimidating when everyone I've been following has been using alcohol markers. I don't have any of those as my budget doesn't allow for them but I do have an old set of watercolour pencils. If you colour with watercolour pencils and Stampin Up! Blender Pens you can get a very similar look to alcohol markers! I still have a lot to learn when it comes to shading etc, but I have to say I will be colouring a lot more now.
I hope you enjoyed today's tutorial. If you need any assistance or to purchase please go to my ONLINE STORE AUSTRALIA 24/7 and use the 'CONTACT ME' section and I will get back to you ASAP.
Thanks for coming past and I hope to see you again soon!
Today I have a fun tutorial for you all. I have made a sponged, masked background using Stampin Up! 2018-2020 In-Colours. These colours when blended together subtly make a beautiful rainbow background. I used the gorgeous Rooted In Nature stamp set for the embossed leaf and sentiment. I have a feeling that this stamp set will be very popular! To order this please stamp set and ink pads head on to my ONLINE STORE
I stuffed up the masking a tad when the painter's tape moved a little when I was sponging the background. But I went ahead with it anyway and I hope that you like it nonetheless.
Today I am featuring a card that has a brand new In-Colour for 2018-2020 Pineapple Punch. This colour is a gorgeous and bright yellow that can brighten anyone's day. I featured the Daisy Delight bundle, Clear Faceted Gem, Simple Stripes embossing folder (a favourite!) and the lovely Burlap ribbon - which will be carrying over to the 2018-2019 Annual Catalogue. If you would like to purchase any of the products featured today you may do so through my ONLINE STORE 24/7 AUSTRALIA
This is an incredibly quick and simple card to make. If you would like to see how I made it, I have a video tutorial for you to have a look and follow along to. https://www.youtube.com/watch?v=E9348FI1pU0
Thank you so much for coming past and I hope you enjoyed today's tutorial. See you again next time!
Today I am showing you a quick but "wow" card using Stampin Up! You're Priceless stamp set, Eclectic Layers Thinlit dies and Everyday Label Punch. I used Basic Black and Whisper White Cardstock, along with silver foil and silver glitter papers. I embossed the gem images with silver embossing powder. All these items may be ordered through my ONLINE STORE
Today I am taking part in a blog hop with the Inksomniacs Team. Our challenge was to CASE any current catalogue. I decided to CASE from the 2017-2018 Stampin Up! Annual Catalogue on page 164. I haven't used the Tree Rings background stamp so I thought it was the perfect opportunity to use it. I kept it pretty much the same but simplified it and the flowers and leaves are different to the catalogue. I instead used the Flower Shop stamp set with the co-ordinating Pansy Punch and I also used Painted Harvest stamp set for the leaf image and the co-ordinating Leaf punch. The "hugs" die cut is from the Lovely Words thinlit dies
Here is a video tutorial showing you how I made it. If you cannot view it here please click on the following link https://youtu.be/4nhWC9r2jiQ
Thanks so much for coming past. I hope you enjoyed today's project. Please head on to the next team member's post Jo Hooper
Today I am sharing a very simple one layer card featuring the elegant and beautiful 2018 Sale-a-bration Lots of Lavender stamp set (which is free!) and the Colorful Seasons stamp set from the 2017-2018 Annual Catalogue. I feature heat embossing and the use of stamp platforms such as the Tim Holtz Stamp Platform and MISTI tool. If I had the Stamparatus I would of used it as this card is perfect for it!
If you don't have a demonstrator and you live in Australia I would love to have the opportunity to earn your business. If you are thinking of joining Stampin Up! I would LOVE for you to be a member of my team. Please head to my ONLINE STORE to purchase product or join my team.
Today I am sharing a sweet card using Stampin Up! Sharing Sweet Thoughts stampset. This set is very special as it not only is adorable and versatile, it also is a stamp set that supports Ronald McDonald House. For every set sold $3 goes to Ronald McDonald House. As you may be aware Ronald McDonald house supports families with sick family members and gives them a home away from home whilst their little one receives medical treatment. A beautiful stamp set for a very worthy cause. To purchase this stamp set or if you have any questions please visit my ONLINE STORE
Today's card was made for a monthly swap. I loved it so much that I decided to make it again and as a video tutorial. Here is the video showing you how I made it
I hope you enjoyed today's tutorial, if you would like any products featured in today's tutorial please head on to my ONLINE STORE. I would really love the opportunity to earn your business. Have a wonderful day and see you again soon!
I am so sorry I have been late in posting this week. It has been one of those weeks where I was constantly chasing my tail. I am so glad things have settled down now.
This weeks card had to be a quick one, and so the Dragonfly Dreams bundle came to the rescue.
For this card I used Whisper White card stock with Blushing Bride ink, I also used Dragonfly Dreams bundle, Perpetual Birthday Calender, Gorgeous Grunge, and Sweet Cupcake stamp sets. I have a quick video tutorial to show you how to make it.
Thanks so much for coming past, and I hope you enjoyed my tutorial. If you have any questions or would like to purchase any product featured in today's tutorial, please feel free to come by my online store and use the 'Contact Me' section and I will get back to you as soon as possible with the following link at http://www.stampinup.net/esuite/home/pepperlyrose/
Thank you for coming past. Here is my latest tutorial showing you how to make this Kikki K inspired card. I was walking past one the Kikki K stores and I saw the most gorgeous range of swedish inspired stationery featuring the above shown colour scheme. I absolutely feel in love with it so I designed a card featuring Night of Navy, Pink Pirouette, Calypso Coral, Soft Sky and Whisper White. I love this combination of colours and I would never have thought to put them together. It's amazing where you can find inspiration!
Today's card features the Sale-A-Bration So Many Thanks set, Botanical Bloom and Botanical Builder framelit dies. I really loved making this card and in belows video tutorial I will show you how to make it. I featured also some heat embossing which is so much fun!