Today I am sharing a very simple yet elegant cherry blossom card. I used the beautiful Season Layers Thinlit dies and Abstract Impressions stamp set for the 'thank you'. For the stripes I used my Simply Scored Scoring Tool. I also used the Rectangle Stitched Framelit Dies. I love the effect of self coloured cardstock as it looks more organic, and it really looks beautiful. All items can be purchased through my ONLINE STORE AUSTRALIA
Today I am sharing a card that features the new To Have & To Hold stamp set which will be available tomorrow from my ONLINE STORE AUSTRALIA . I also used an old retired stamp set Perpetual Birthday Calender. I like to use what I have, so always feel free to mix and match your supplies and get the most out of your creations. Your crafting time should be fun so experiment, mix and match and have a ball.
I have a video tutorial showing you how to make this card.
Today I am sharing a shimmery Christmas card using the super cute A Little Wild stamp set with the matching Little Loves Thinlit Dies. I am also using the Hearts Come Home stamp set, and the awesome Frost White Shimmer Paint. All items can be found in my ONLINE STORE AUSTRALIA
I hope you enjoyed today's tutorial. If you have any questions or if you would like to purchase any of the product featured today, please head on to my ONLINE STORE AUSTRALIA
Thanks for coming past, I really appreciate it, and I hope to see you again soon!
I have a fun punch art card for you using the new Sprig Punch which will be available for purchase on the 5th September 2018. This punch is so versatile, in this case I used it as quirky antlers for the reindeer image from Foxy Friends. I also used the Star of Light stamp set for the stars and sentiment. The background is ink blended with Balmy Blue and Blueberry Bushel inks. All products can be purchased through my ONLINE STORE AUSTRALIA 24/7
I have also added a Rudolph the Red Nose Reindeer version of this card. I hope you all like it!
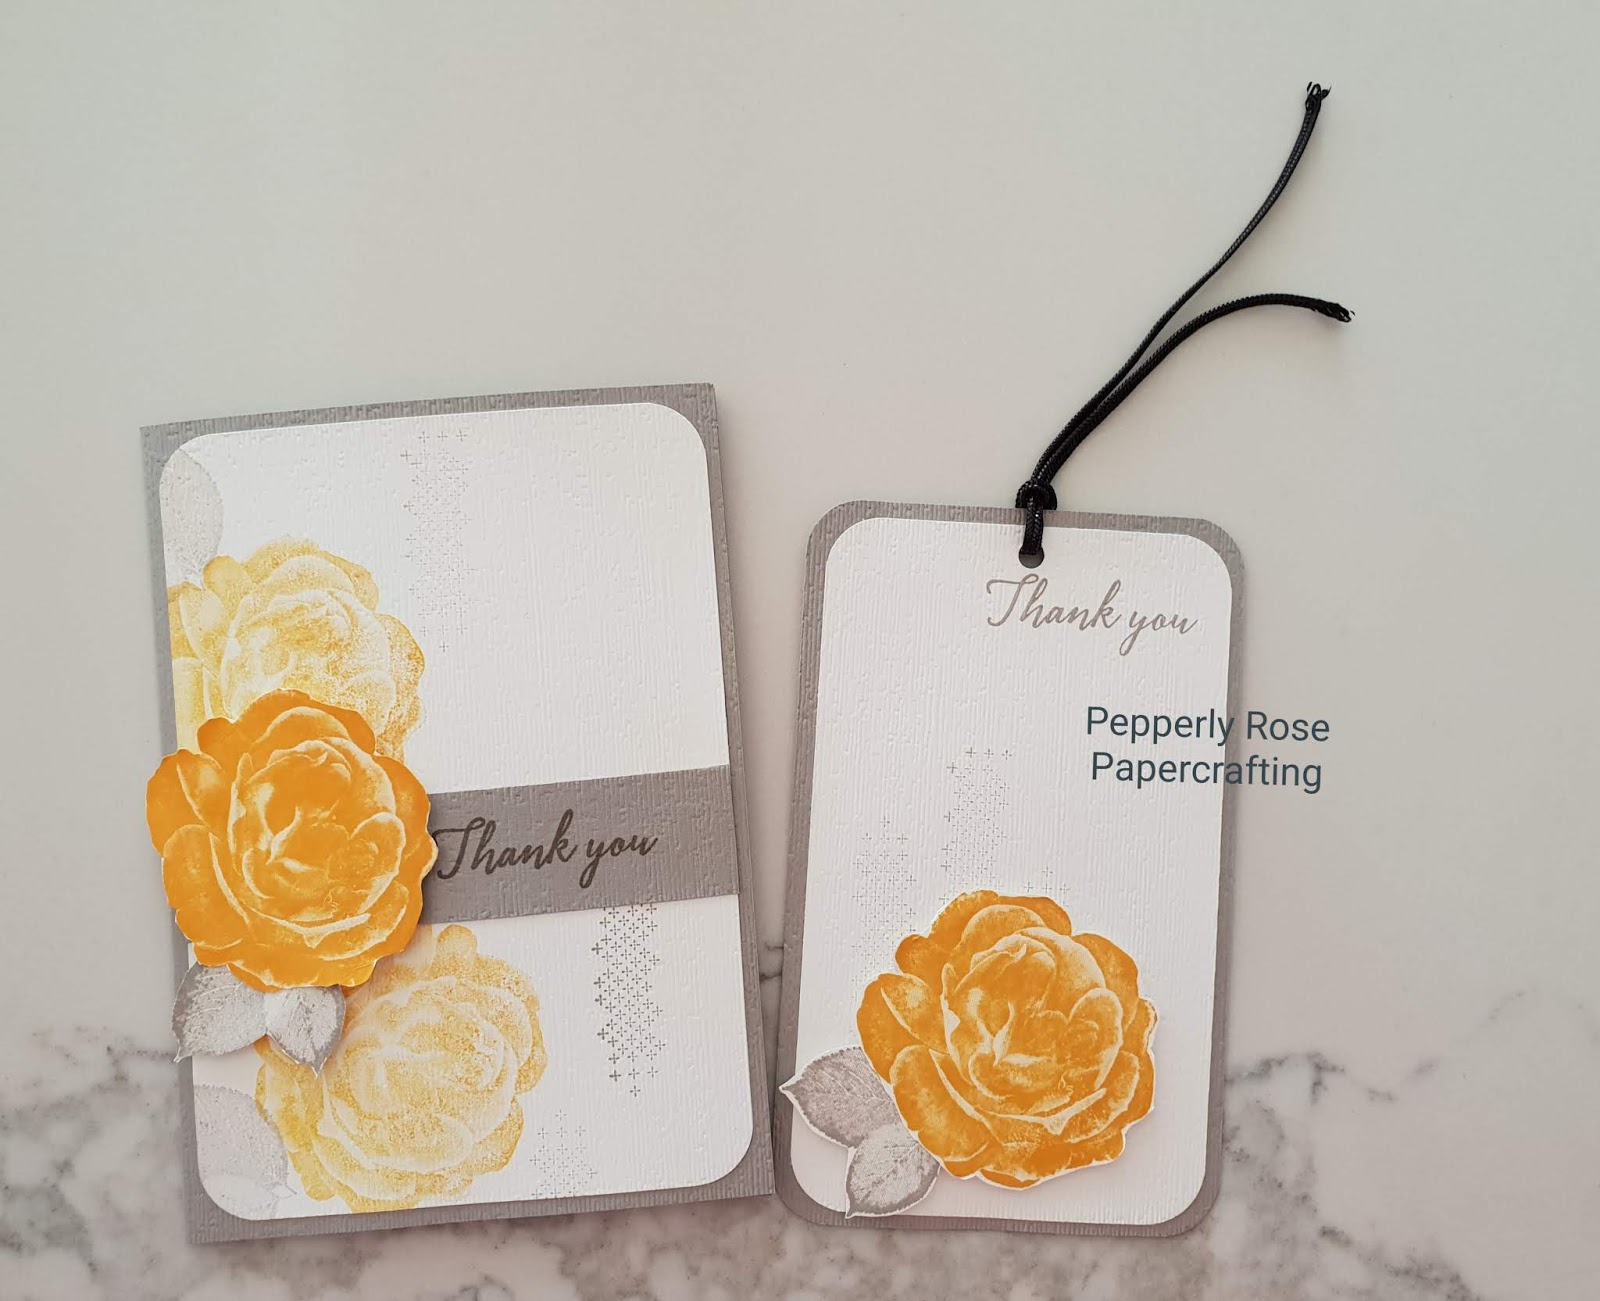
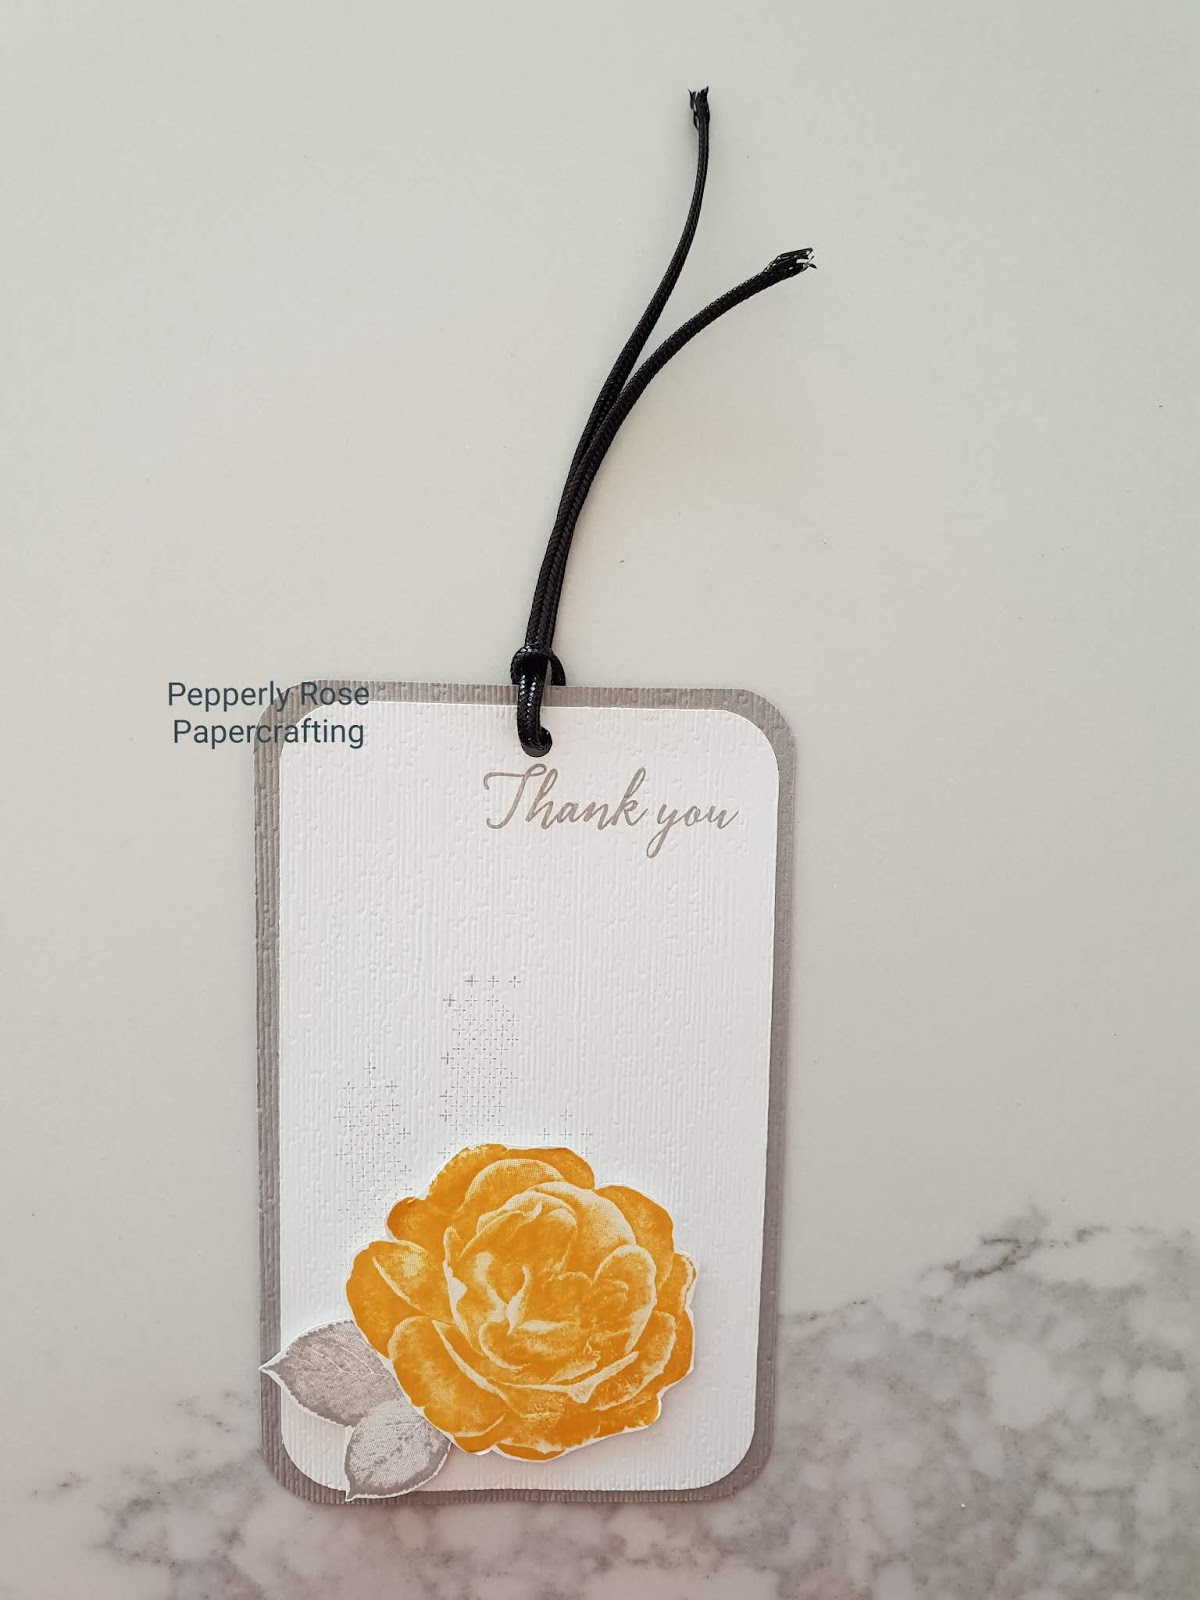
I am sharing my latest video tutorials showing you how to make a card and matching tag using Stampin Up! Healing Hugs & Tropical Chic stamp sets, Subtle Dynamic Impressions Embossing Folder, and Detailed Trio Punch. These can be purchased through my my online store at http://www.stampinup.net/esuite/home/pepperlyrose/ The colours I used are Grey Granite, Crushed Curry and Mango Melody.
Here is my latest tutorial showing you how to make this gorgeous Christmas card using new up and coming goodies from the 2018 Holiday Catalogue. I have used a new Stampin Up! colour Merry Merlot with Very Vanilla and Crumb Cake. There are lots of new goodies on this card. The background is stamped in Merry Merlot on Very Vanilla cardstock using the new Buffalo Check background stamp . The oval is embossed with the new Corrugated Dynamic Embossing Folder. The deer is from the new Detailed Deer thinlit dies and the 'Merry' is from the new Merry Christmas Thinlit dies. All these new goodies can be purchased in September 2018 through my online store at http://www.stampinup.net/esuite/home/pepperlyrose/
I am so excited to be showing you this beautiful At Home With You bundle which will be available tomorrow!!! EEK ONE MORE SLEEP!! I LOVE this bundle. It is versatile and elegant. I had a tonne of fun creating with it and I am sure you will too!
I created a simple card that you can replicate easily and of course, add your own touches to it. What is so adorable is the door. I love that door, and you can add your own personal touch by adding a little suprise behind the door.
I have a video tutorial showing you how to make this card.
I hope you have enjoyed today's tutorial. If you have any questions or you would like to purchase any of the products featured please visit my online store at http://www.stampinup.net/esuite/home/pepperlyrose/
Thanks for coming past and I hope to see you again soon!
I have created this super cute Valentine's Twist Top Ends box using the gorgeous Sealed with Love Bundle and Gift of Love hostess stamp set. This box has a slight variation from the first one I had made in November 2016 and you can find my original tutorial by clicking on the following link https://www.youtube.com/watch?v=vCP_JbImZpY The original one I made was for Christmas, but I wanted to show you how to make it with Valentine's Day themed colours and embellishments. It is such a fun and versatile box!
I had made this box as there was nothing else out there that would resemble the Candy Wrapper Die that Stampin Up! had a few years ago, that could be made with just a trimmer and a scoreboard. Other versions out there have the use of punch boards etc, and seemed a little complicated to me. So I was quite pleased when I came up with my version and the beauty is that it can fit 3 Ferrero Rocher chocolates in it!
Here is my video tutorial showing you how to make one of your own.
I hope you enjoyed today's tutorial. If you have any questions don't hesitate to let me know. If you would like to purchase any of the products featured in today's tutorial please visit my online store at http://www.stampinup.net/esuite/home/pepperlyrose/
Thanks for coming past and I hope you come back again soon!
Today I made this super easy Christmas Starlight Pyramid Luminary. I found the battery operated candle from IKEA and was quite inexpensive!. I hope you enjoy this project and to help you make it yourself, I have made a video tutorial for you to follow along to!
I have used the gorgeous Totally Trees stamp set along with the Crazy About You stamp set for my customer thank you cards this month. This was a very quick card to make and I absolutely love the soft pastel colour palette. I used Smokey Slate, Mint Macaron, Pink Pirouette, and Soft Sky inks.
Here is a video tutorial that I have made to show you how to make one.
If you can't view it please clink HERE to view on YouTube.
I am back as a Stampin Up! demonstrator and I am so happy that I have joined!! It is a great time of year to join! If you are interested in joining I would love to have you on my team!
Today I am sharing with you a tutorial on how to make this utterly adorable Frog from the Playful Pals stamp set and Pyramid Pals Thinlit bundle. This is sooo cute! Please view the video tutorial I made for you on how to make it. I hope you enjoy it!
Thank you so much for coming past! Please visit my website at http://pepperlyrose.stampinup.net for any purchase you wish to make or for more information.