I'm sharing a clean and simple, yet sweet elephant card, using Stampin Up! A Little Wild stamp set. I also used the Stitched Shaped dies with the Subtle 3D embossing folder. I ink blended the circle with some Flirty Flamingo ink using my make up brushes. I love clean and simple cards and I hope you all like this one too. All the products used in this tutorial are available in my ONLINE STORE
I have a super easy card to share with you. The background is made with Stampin Up! Pattern Party Masks and some makeup brushes! They really make ink blending super easy and it is seamless. I just love it. I also used Stampin Up! Stitched Shapes Framelits, and Thank You Thinlit Die. The colours I used are Blackberry Bliss, Rich Razzleberry, and Blushing Bride. If you would like to purchase any products featured today minus the brushes you may visit my online store at http://www.stampinup.net/esuite/home/pepperlyrose/
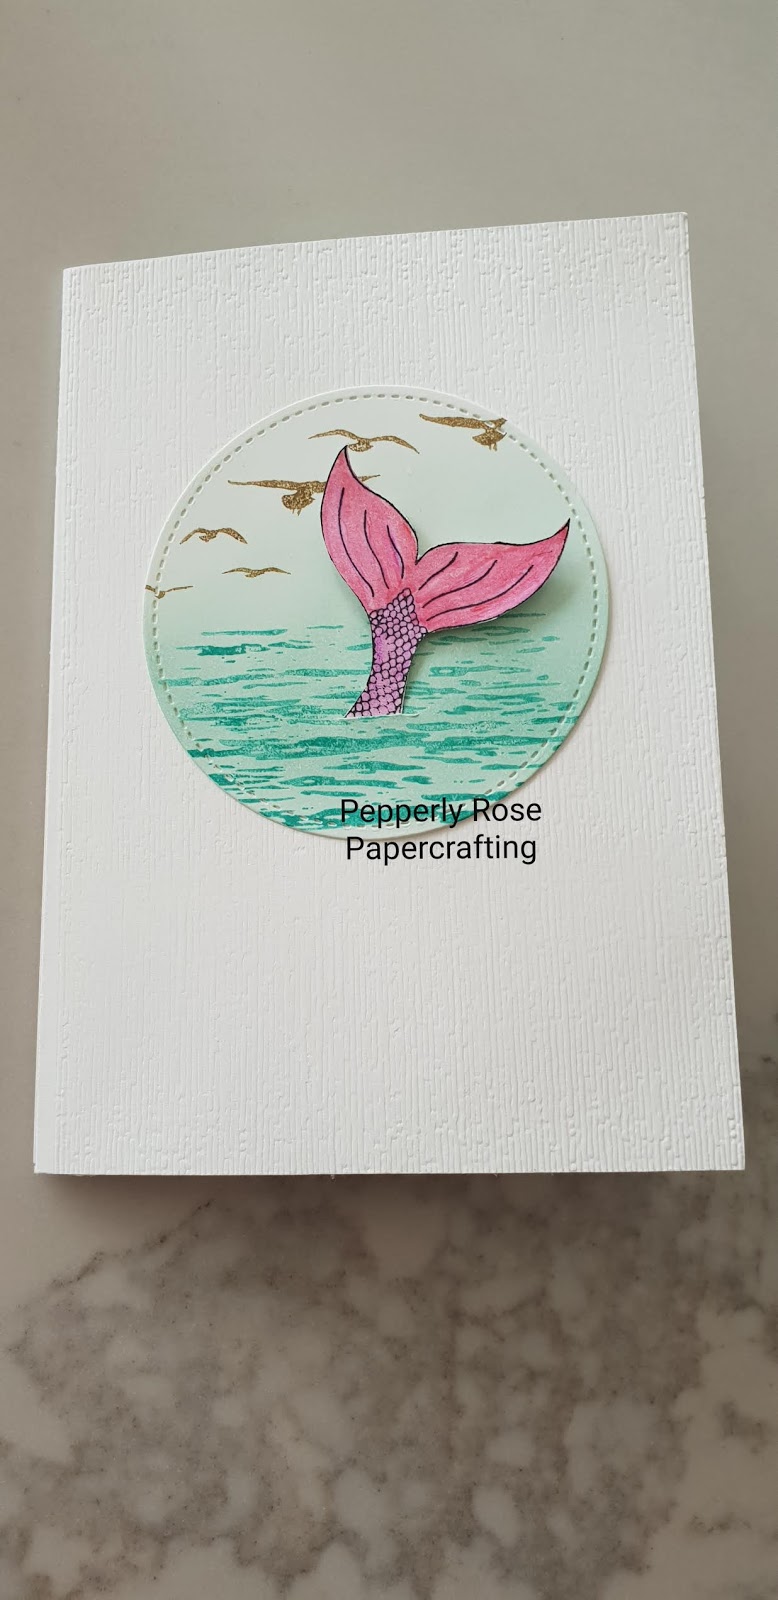
I am sharing my latest creation with the gorgeous Magical Mermaid stamp set by Stampin Up! I love this gorgeous mermaid as she not so cutesy and therefore she can be used for many age groups! I used lots of cool product such as: Magical Mermaid, High Tide, Subtle Dynamic Textured Embossing Folder, Under The Sea Framelits, Layering Oval framelits, and Stitched Shapes Framelit Dies. All these awesome products can be purchased through my ONLINE STORE AUSTRALIA 24/7
I hope you all liked this tutorial. If you have any questions or would like to purchase any of the products featured today, please head to my online store at http://www.stampinup.net/esuite/home/pepperlyrose/
Thanks so much for watching and I hope to see you a again soon!
I have a fun tropical Christmas card using the very versatile Waterfront stamp set, along with High Tide and Hearts Come Home stamp sets. I also used the beautiful and elegant Seaside embossing folder. I had loads of fun ink blending the background with So Saffron, Mango Melody and Balmy Blue inks. To purchase any of these products please head on to my ONLINE STORE AUSTRALIA 24/7
One of my YouTube channel viewers requested more teen card ideas, so I made this card today inspired by a fellow demonstrator in the UK Stampin Star Creations https://www.youtube.com/watch?v=Z1lS8QGyaac She had shown a faux brusho technique and I was very inspired by it so I made a version of my own.
I used the wonderful Sale-a-Bration 2018 Epic Celebrations stamp set as well as the Touches of Textures stamp set. I also used the ever versatile Stitched Shapes Framelits for the circles.You can view my tutorial on https://www.youtube.com/watch?v=pGjEYSdsi7U
If you would like to purchase any thing from today's tutorial and you are in Australia you may do so at my ONLINE STORE . I would really appreciate the opportunity to earn your business. Thank you so much for coming past today and I hope that you come back again soon!
Today I am sharing a simple snowflake themed matchbook that is perfect for Christmas or even as a winter themed wedding favour! This project is very simple and makes a great inexpensive gift.
I used Stampin Up! Tags & Trimmings Bundle, Stitched Shape Framelits, Night of Navy Cardstock, Versamark Ink, Silver Embossing Powder and Silver Foil. You can purchase all products through my ONLINE STORE
Today I am sharing with you my pizza box for gifts. This box uses the fabulous Wood Words Bundle which includes the Wood Words stampset and Wood Crate Thinlit dies. I also used the Layering Circle Dies and Stitched Shaped Framelits. I wanted to use the Wood Words Bundle in a different way. Rather than just pairing it with wood grain or farm themed colours and papers, I went for bright and fun colours of Daffodil Delight and Melon Mambo. To purchase any product featured in todays tutorial please head on to my MY ONLINE STORE
Below is a video tutorial showing you how I made it.
I hope you enjoyed today's tutorial. If you have any questions please don't hesitate to contact me and if you'd like to purchase please head to my ONLINE STORE .
Thanks for coming past and I hope to see you again soon!
Today's card is my customer thank you card for July. Ever since I got the Beautiful Bouquet Bundle and Pinewood Planks Dynamic Embossing Folder, I thought that the two were a match made in heaven along with the gorgeous Stitched Shapes Framelits and Layering Square Framelit Dies (crafting must-haves).
I really love how this card turned out. During filming of this tutorial, I had inked one side of the embossing folder with Sahara Sand ink and used the splatter from the Timeless Texture stamp set. Upon looking at it I changed my mind and instead turned it over and used the plain white underside. I am glad that I went with the white version.I also added a couple of sprigs from the Bouquet Bunch Dies to fill out the flower bouquet after I had finished filming the tutorial. I hope you like the extra touches.
Here is the video tutorial of how I made the card:
If you cannot view it please click HERE on the YouTube link provided.
I hope you enjoyed today's tutorial. If you have any questions please don't hesitate to contact me through my ONLINE STORE. Similarly, you can also purchase everything featured in today's tutorial through my ONLINE STORE .
Thanks so much for coming past and I hope to see you again soon!
I used Dragonfly Dreams, Butterfly Basics, Garden In Bloom, and Gorgeous Grunge stamp sets. I also used Hexagons Dynamic Embossing Folder as well. I used Daffodil Delight card stock and ink, Crushed Curry, Smokey Slate and Soft Sky Markers and Memento Tuxedo Black Ink.
I loved making this card and I have a video tutorial showing you how I made mine.
Thank you so much for coming past and I hope that you enjoyed my tutorial. If you would like to purchase and of the products featured in my tutorial please visit my online store at http://www.stampinup.net/esuite/home/pepperlyrose/ I would love to have the opportunity to earn your business.
Today I am sharing a sneak peak birthday card tutorial using the brand new bundle called Cool Treats from the new 2017 Occasions catalouge - which will go live on the 4th January 2017. I am also sharing the video which shows you how to make it!
I hope you have all enjoyed this sneak peak. If you have any questions please don't hesitate to contact me. Have a great day everyone and happy crafting!
I'm very excited to show you a new Stampin Up! product, it's the new Stitched Shapes Framelit Dies! These dies are just divine and add a beautiful touch to any of your projects.
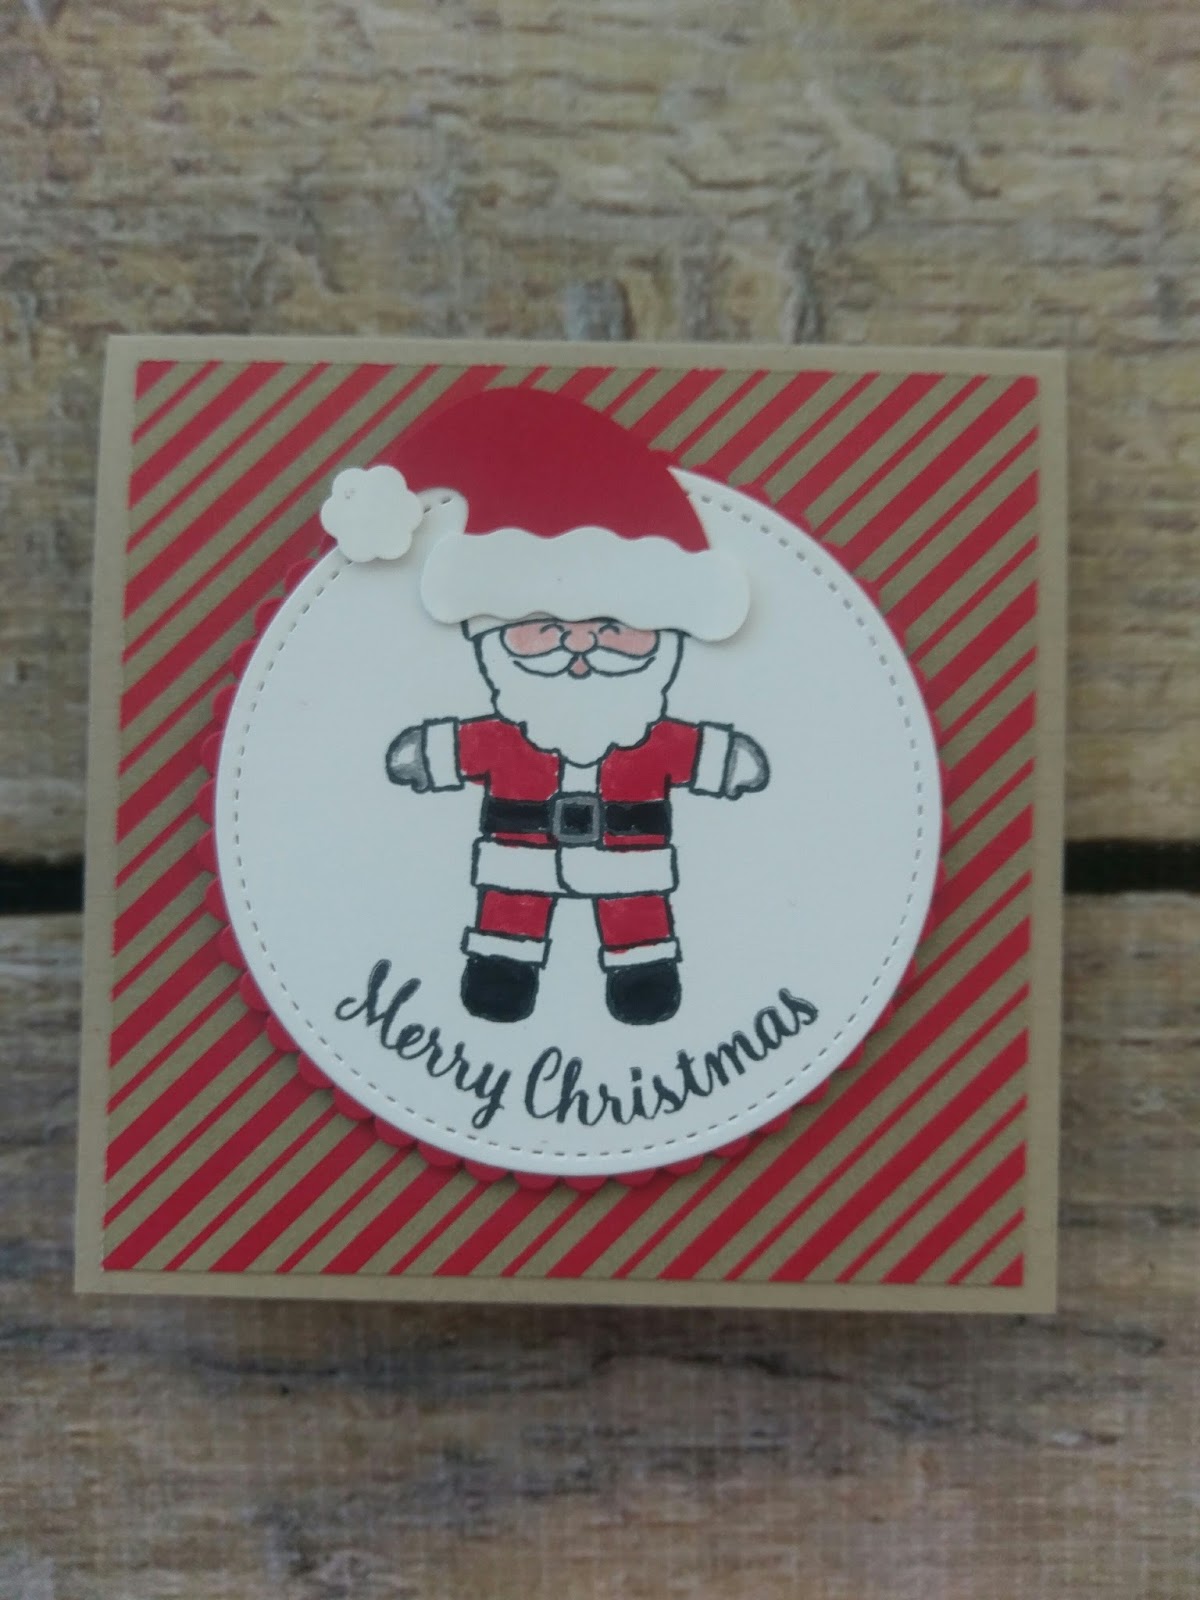
Today I have made a really quick note card featuring the Santa and inside sentiments from Cookie Cutter Christmas, The 'Merry Christmas' sentiment on the front of the card is from the beautiful Star of Light stamp set. I also feautred the Layering Circle Framelit dies and the gorgeous Candy Cane Lane DSP.
Here is a video tutorial of the note card, I hope you all like it and find it helpful.